Sour Dough Bread (No Fuss, No Overthinking!)
There’s a lot of information out there about making sourdough — some of it helpful, some of it overwhelming. If you’ve ever felt like sourdough was just too complicated, I get it. But I’m here to tell you that it doesn’t have to be. With this Simple Sourdough Bread recipe, you can make beautiful, crusty loaves with soft interiors and that classic tangy flavor — all without the stress.
This is my go-to method. It’s practical, reliable, and fits into real life. No overnight madness, no specialty tools, no complicated formulas. Just good bread made with four simple ingredients and a little bit of love (and a really great starter kit).
🥖 Why You’ll Love This Recipe
- Beginner-friendly: You don’t need experience or special equipment to get this right.
- Real-life friendly: The steps fit into your day — not the other way around.
- No kneading required: Stretch and folds take the place of traditional kneading.
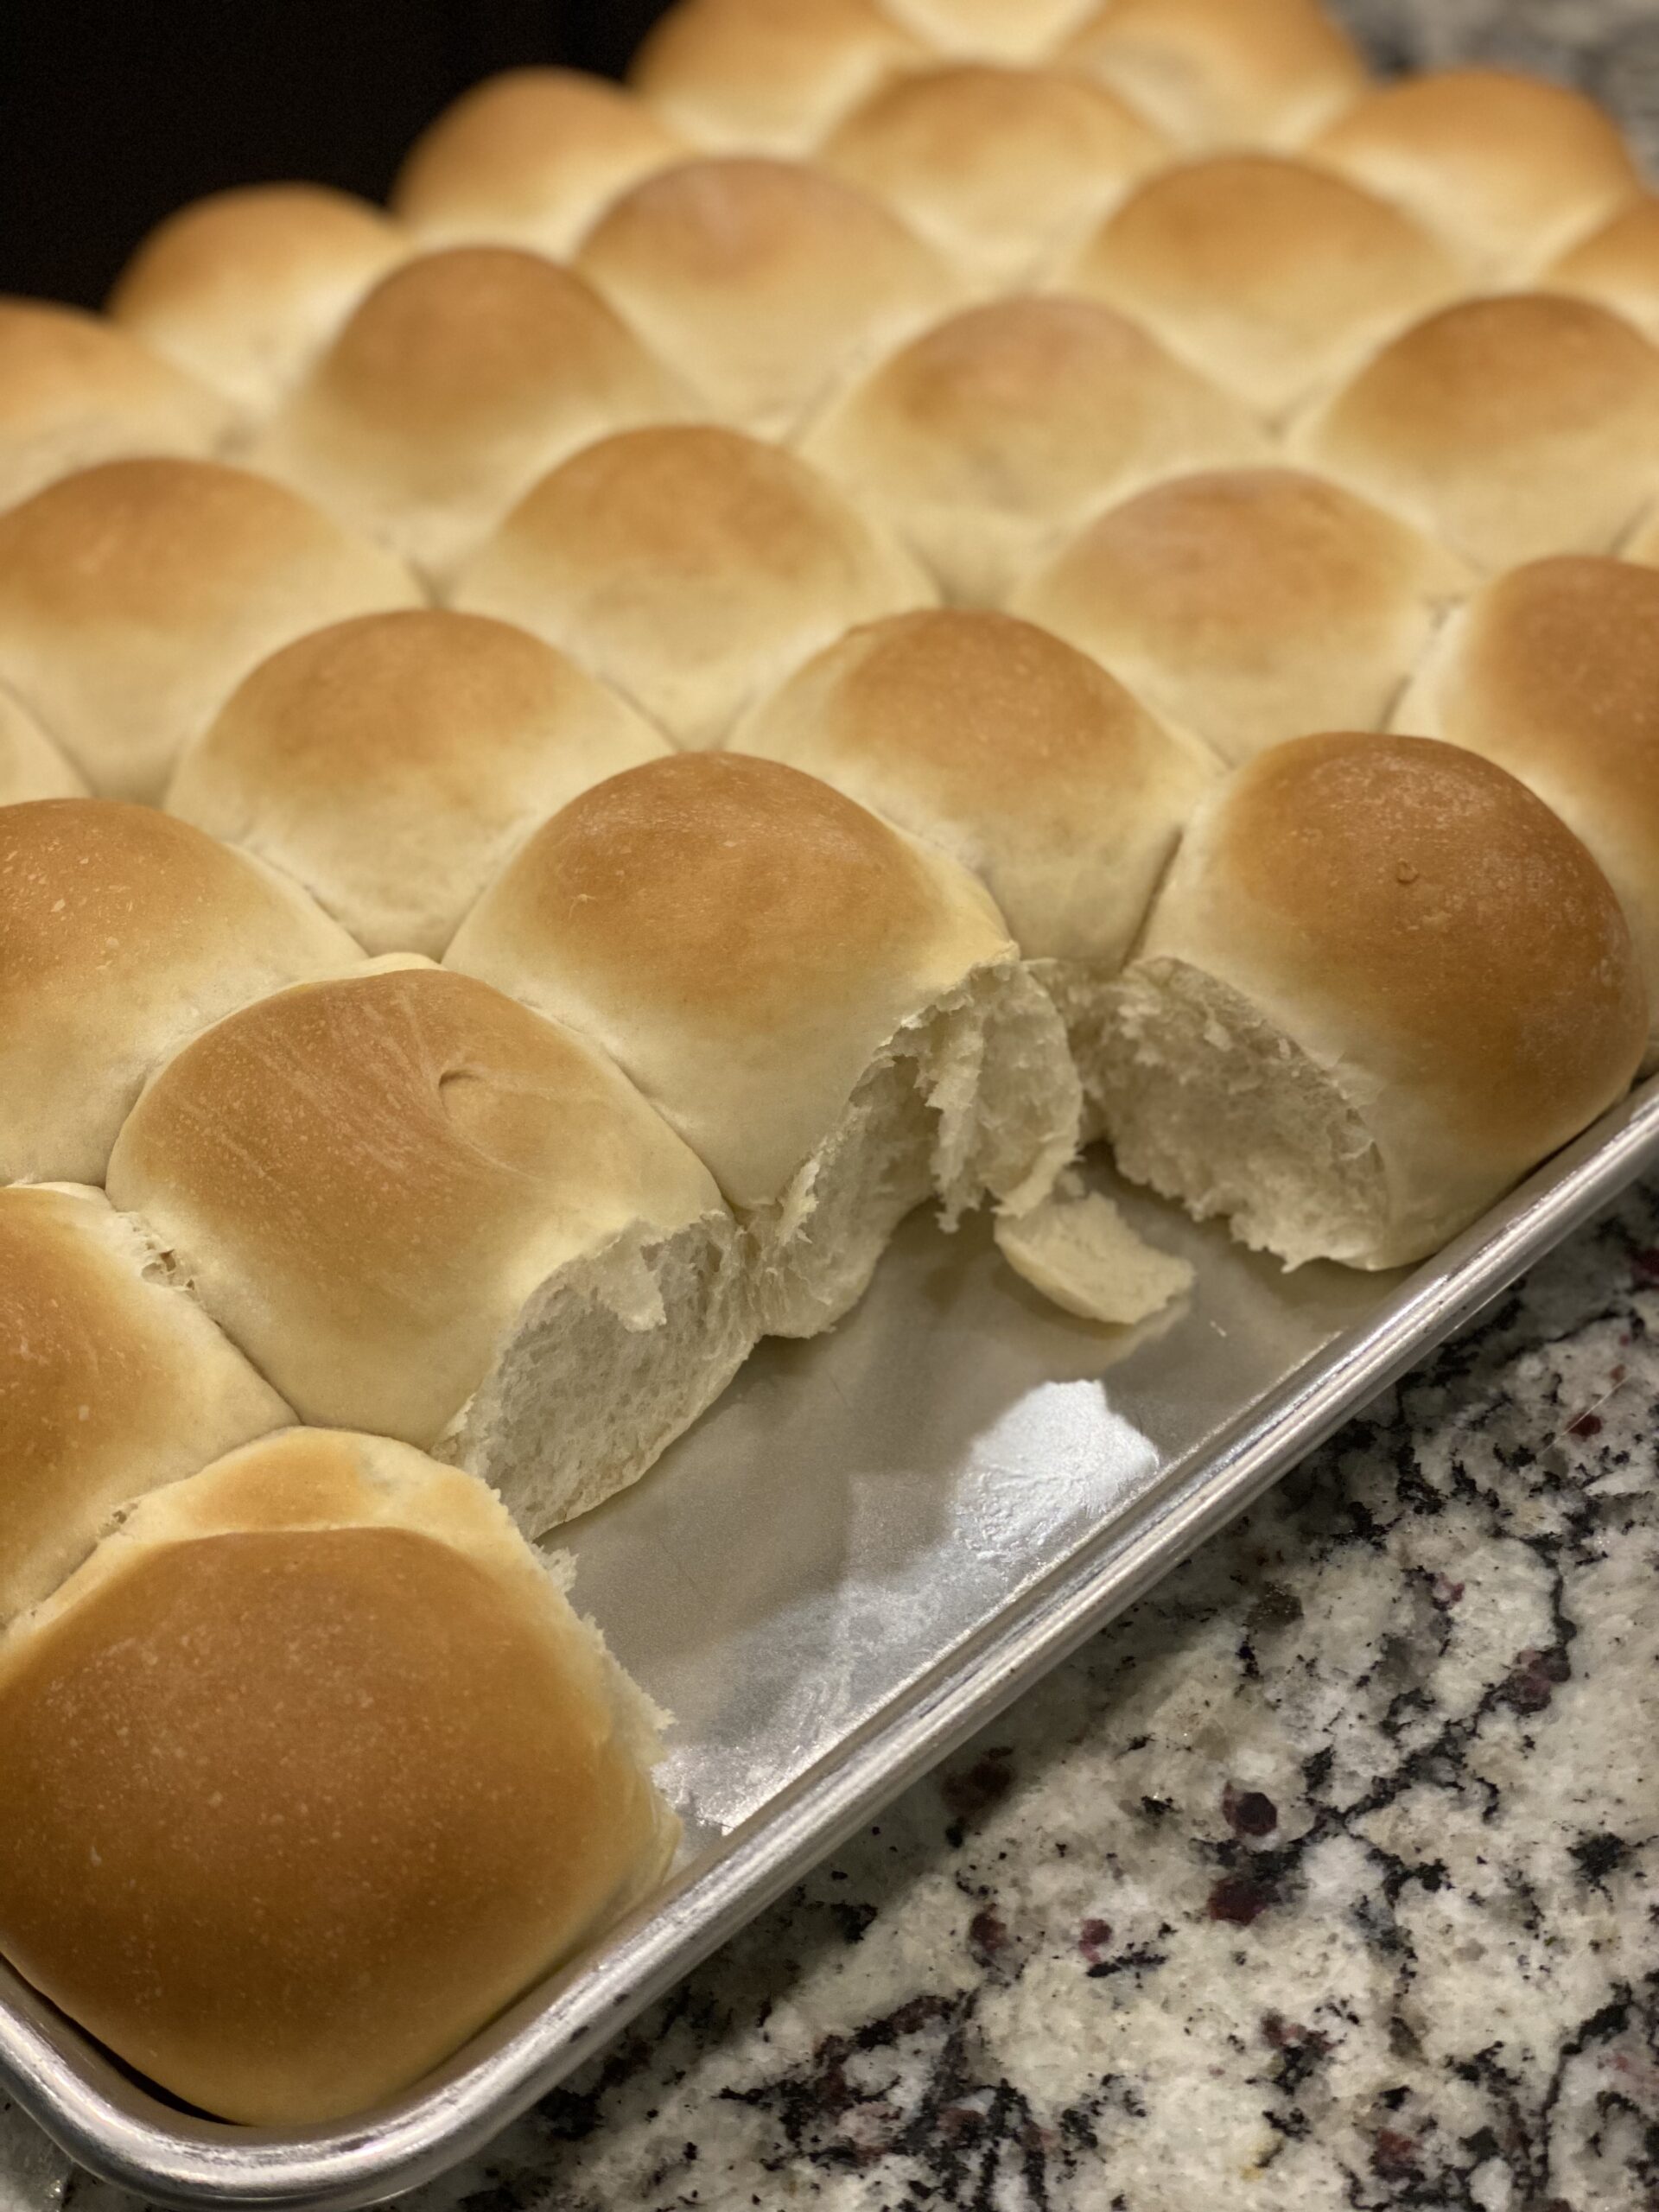
- Incredible texture: Crisp, crackly crust and soft, chewy inside every time.
- Naturally leavened: That tangy flavor comes from wild yeast — no commercial yeast needed.
Whether you’re a first-timer or looking for a more approachable method, this recipe is a great place to start.
🛒 Ingredients (Makes 2 Loaves)
- 300g active sourdough starter
- 30g salt
- 600g warm water
- 920g all-purpose or bread flour
That’s it! Four ingredients — no added sugar, oil, or fancy flours required.
🍞 Step-by-Step Instructions
1. Mix the Dough
In a large mixing bowl, stir together:
- 300g active starter
- 600g warm water
- 30g salt
Once that’s combined, add:
- 920g flour
Mix until everything is fully incorporated and you have a shaggy, sticky dough. Cover the bowl with a towel or plastic wrap.
2. Rest and Stretch
Let the dough rest for 10–20 minutes. This gives the flour time to hydrate.
After resting, perform one set of stretch and folds:
- Gently pull up one side of the dough and fold it over the center.
- Repeat on the remaining three sides.
- Cover and let sit.
This replaces kneading and helps develop the gluten structure naturally.
3. Bulk Rise
Let the dough rise at room temperature for 6 hours, covered. It should expand noticeably and become bubbly.
Tip: Depending on the warmth of your kitchen, this might take a bit less or more time. Look for a 1.5x to 2x rise and a jiggly, airy texture.
4. Divide and Shape
Turn the dough out onto a lightly floured surface. Divide it in half. For each half:
- Stretch gently into a rectangle.
- Fold the bottom third up, the top third down (like folding a letter).
- Fold in the sides, then flip the dough over.
- Use your hands to gently pull it into a smooth ball.
5. Final Proof
Place each dough ball into a floured proofing basket or a bowl lined with a floured towel. Cover and let proof for 2–3 hours.
🔥 Bake the Bread
6. Preheat the Oven
About 30–45 minutes before baking, place two Dutch ovens in your oven and preheat to 425°F.
Tip: A silicone sling works great for transferring dough, but you can also use parchment paper and an inverted plate to flip and release the dough.
7. Transfer and Score
Remove your Dutch ovens. Place dough onto parchment or a sling, then lower it into the hot pot. Score the top with a sharp knife or lame — a simple slash works fine, or get creative!
8. Bake Covered
Cover and bake at 425°F for 30 minutes.
9. Uncover and Finish
Remove the lids and bake another 10–20 minutes, until the crust is golden brown and crisp.
10. Cool
Transfer loaves to a wire rack and let cool for at least 1 hour before slicing.
⏱ Time Breakdown
- Mix & Stretch: 30 minutes
- Bulk Rise: 6 hours
- Final Proof: 2–3 hours
- Bake Time: 40–50 minutes
- Total Time (Start to Cool): About 9–10 hours
Hands-on time is minimal — the rest is rise time!
🧰 Tools I Used
- NutriMill Sourdough Starter Kit – This is the same company that makes my go-to mixer, and I’ve loved their products for years. The starter is reliable and easy to maintain.
- My Stand Mixer – Perfect for big batches and heavy doughs (linked in my profile — use code DeliciouslyBoldfor a discount!)
- Silicone Sling – Makes dough transfers easy and mess-free.
- Dutch Ovens – Essential for that crispy artisan crust.
💛 Why I Keep It Simple
There are a lot of sourdough tutorials out there with timers, charts, and multiple ferment stages. While that’s great for some, I found myself overthinking the process and getting stuck. So I went back to basics.
This recipe is proof (no pun intended!) that sourdough can be simple and still delicious. It works with a busy schedule, and the results are consistently beautiful.
I’ve made this bread while teaching full-time, running a household, and getting kids out the door — it fits. That’s why I love it.
📝 Tips for Success
- Use an active starter. Feed it 4–8 hours before mixing your dough so it’s bubbly and ready.
- Don’t skip the rest after mixing. That short break makes the dough easier to handle.
- Keep your tools floured. A floured towel or basket helps the dough release easily.
- Let the bread cool. Slicing too soon can make the inside gummy — let it finish setting.
🥣 How to Serve It
This bread is perfect for:
- Sandwiches
- Toast with butter and jam
- Dipping in soups or stews
- Serving with a cheese board
- Gifting to friends and neighbors
It also freezes beautifully — just wrap tightly and freeze for up to 2 months.
📸 Share Your Loaves
If you bake this sourdough, I’d love to see it! Tag me @DeliciouslyBold and use the hashtag #DeliciouslyBoldBakesso I can cheer you on. Watching others find joy in homemade bread is one of my favorite parts of sharing these recipes.
📌 Save or Print
If sourdough has ever felt too intimidating — this is your sign to give it another try. This method is no-fuss, family-tested, and absolutely worth the time.
Print it, pin it, or bookmark it for later. I hope it becomes a go-to in your kitchen like it has in mine.

Sour Dough Bread
Ingredients
Method
- Mix Starter: In a large bowl, combine 300g starter, 30g salt, and 600g warm water. Stir.
- Add Flour: Mix in 920g flour until combined. Cover.
- Rest & Fold: Let rest 10–20 minutes. Then pull and stretch each side of the dough (all 4 sides) and fold it over itself.
- Bulk Rise: Cover and let rise for 6 hours at room temp.
- Divide & Shape: Place dough on counter, cut in half. For each half:
- Gently stretch into a large rectangle.
- Fold bottom up, top down (like a letter).
- Stretch side to side, fold right side in, then left side in.
- Flip it over and shape into a smooth ball.
- Final Proof: Place into baskets lined with flour. Cover and let rise 2–3 hours.
- Preheat Oven: Place 2 Dutch ovens in the oven and preheat to 425°F.
- Transfer & Score: I used a silicone sling to help lower the dough in easily! But you can also use parchment over each dough ball, then an upside-down plate. Flip and release dough. Score as desired.
- Bake: Remove hot Dutch ovens. Lift silicone sling/parchment paper and lower dough into the pots.
- Bake Covered: Cover and bake 30 minutes.
- Finish Baking: Uncover and bake 10-20 more minutes.
- Cool: Remove from Dutch ovens. Cool on wire rack.